
Installation instructions
Choose your product and follow the steps. This way your uProtect film will adhere cleanly and last a long time.
Before you start: Please be sure to read the processing notes.
Applying the loading edge protection film
In this guide we show you, simply and clearly, how to apply your uProtect loading edge protection film cleanly and with a precise fit.
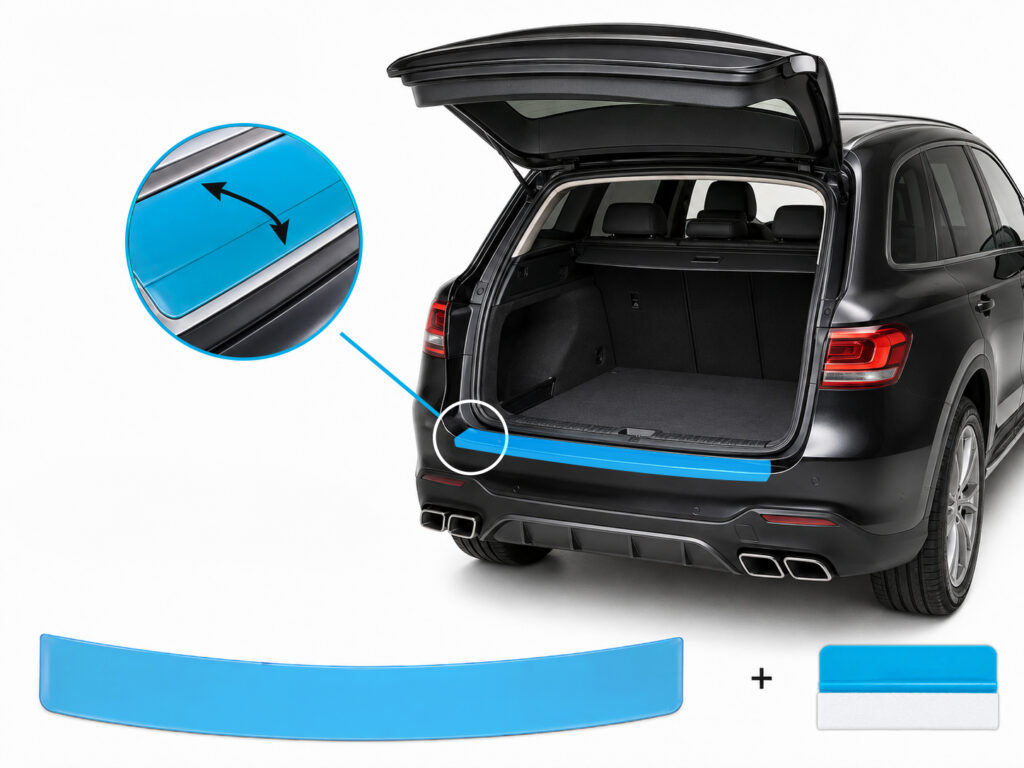
What’s included
- Loading edge protection film
- Squeegee
You will need
- Cleaning liquid (e.g. glass cleaner)
- Water
- Washing-up liquid
- Empty spray bottle
- Cleaning cloth (e.g. microfibre)
- Outdoor temperature of at least 18 °C for the best result
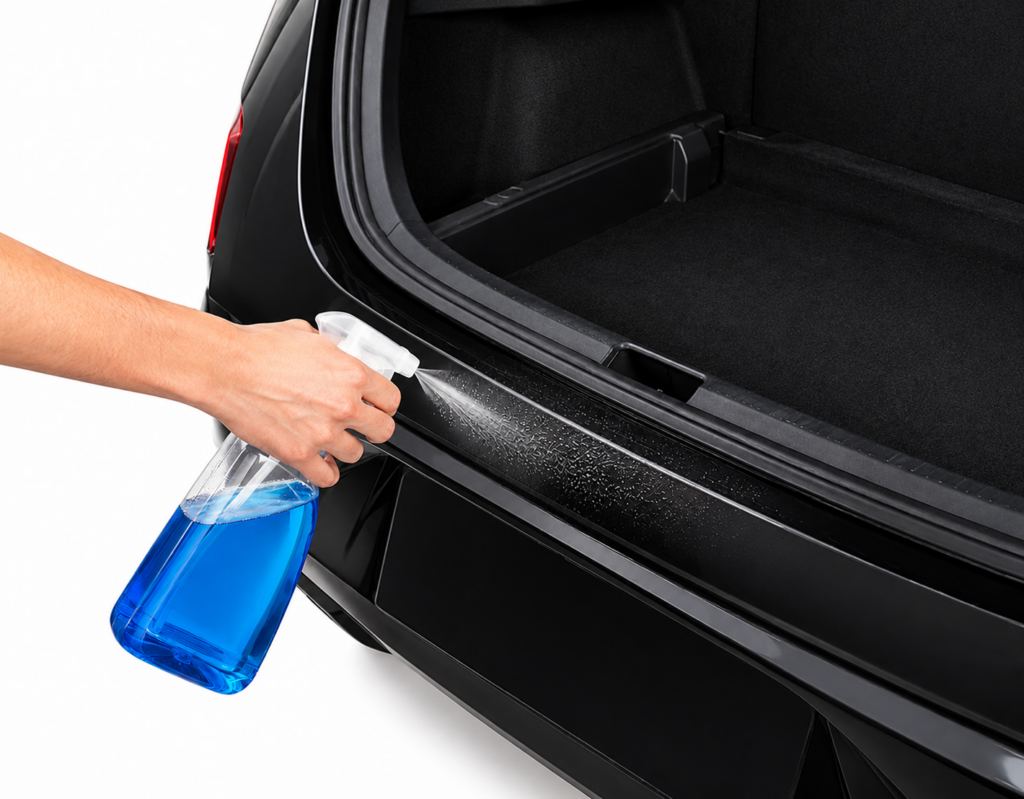
Step 1
Clean the loading edge thoroughly with your cleaning liquid. Remove every trace of dirt and dust, as these particles could later be visible under the film. While the paint is still wet, check it by carefully running the palm of your hand over it. This lets you feel whether any fine particles are still stuck to the surface so you can remove them before applying the film.
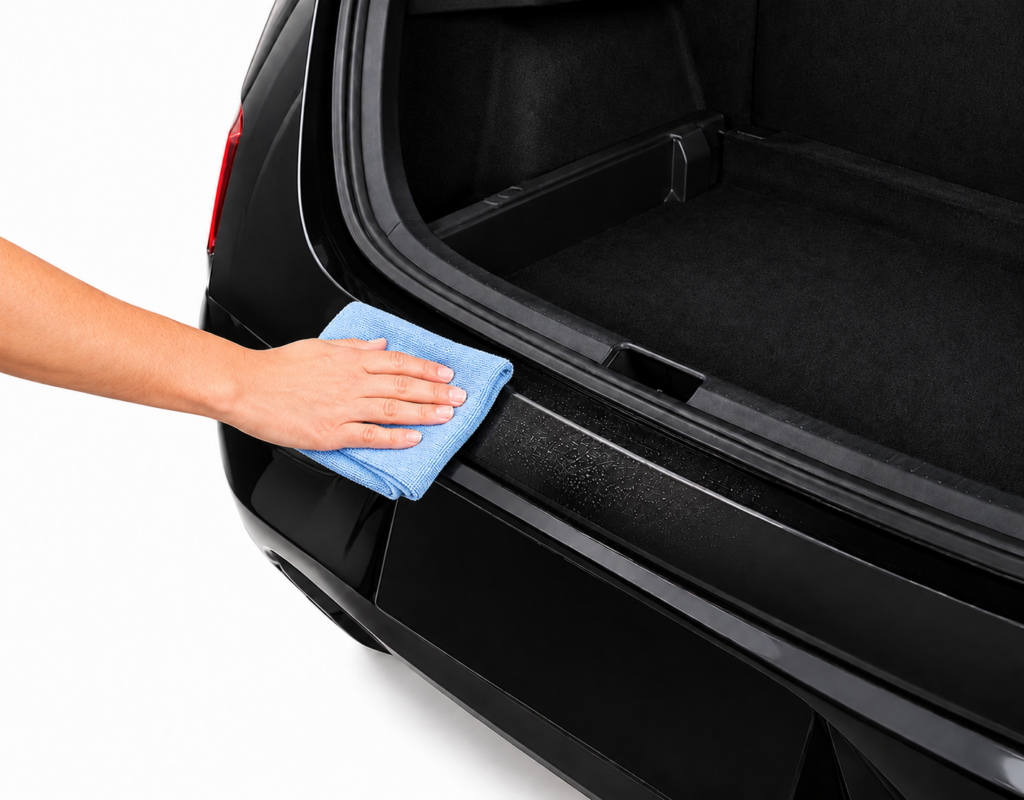
Step 2
Then dry the loading edge thoroughly with a clean microfibre cloth.
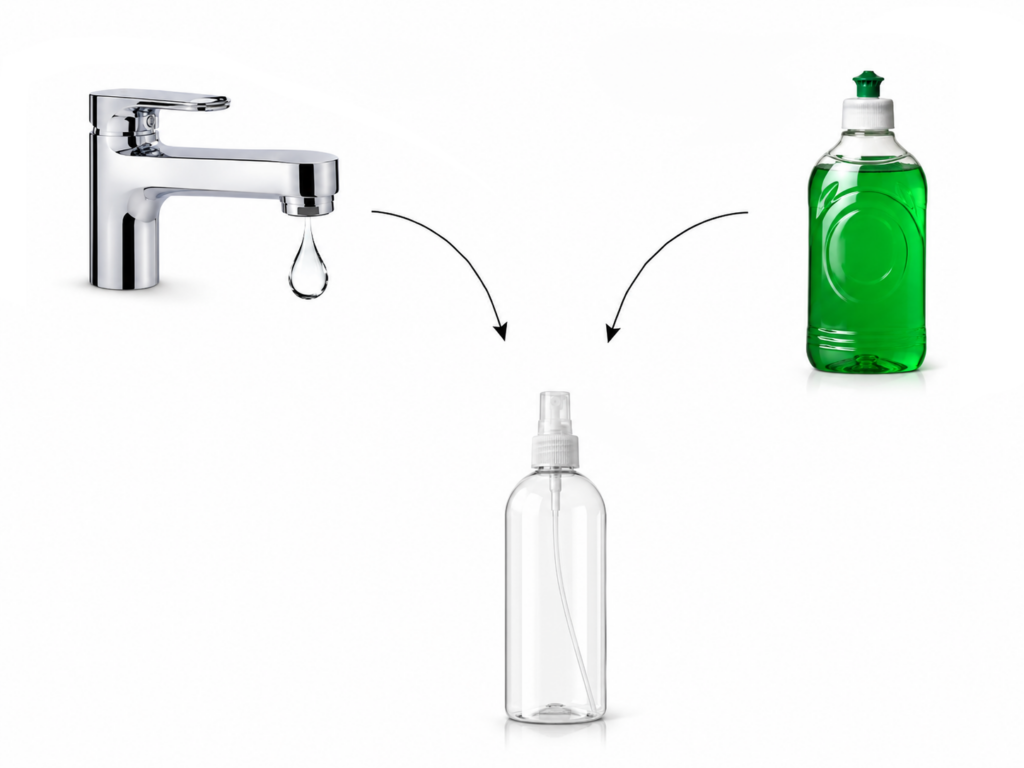
Step 3
Prepare your application fluid. Mix 1 litre of water with one or two drops of washing-up liquid in your spray bottle.
Step 4
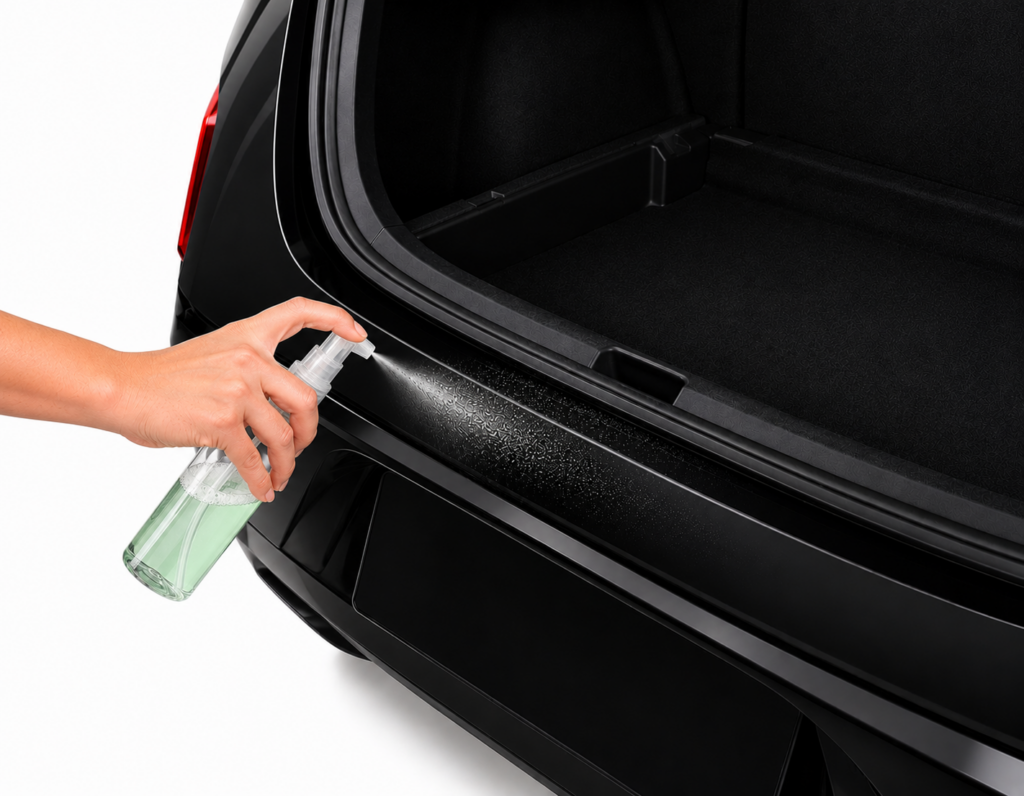
Spray the clean loading edge generously with your application fluid.
Step 5
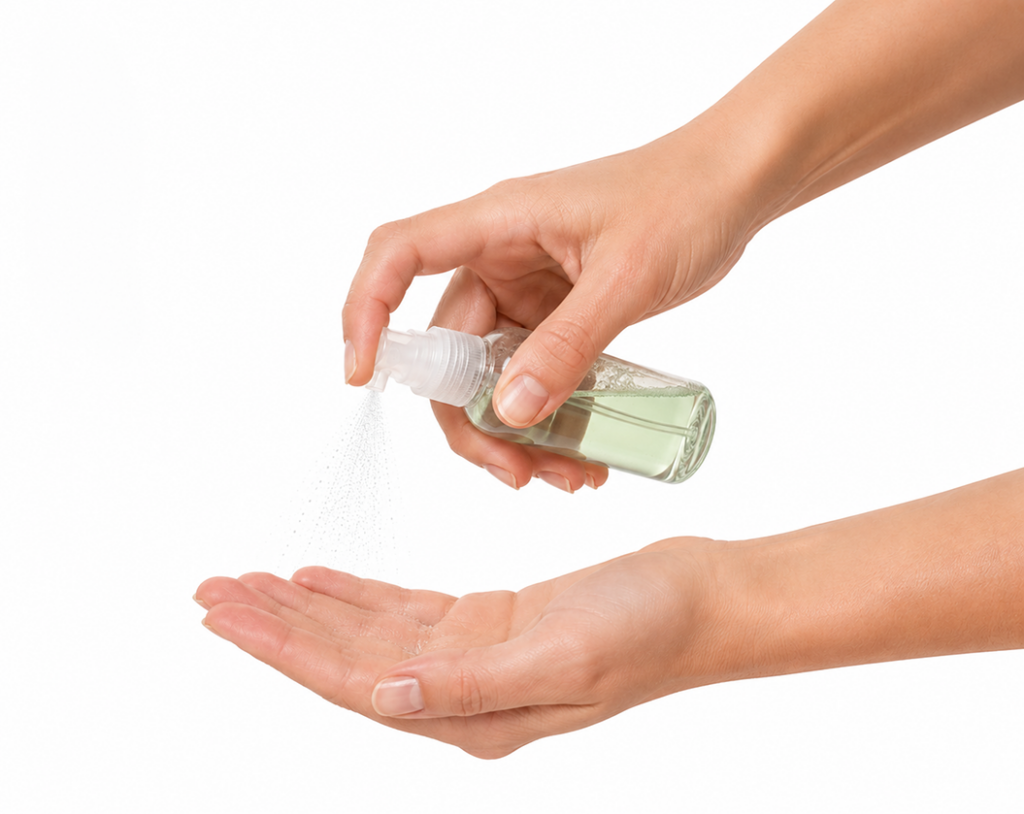
Spray your hands well. This prevents fingerprints from being left on the adhesive side of the film when you peel it off.
Step 6
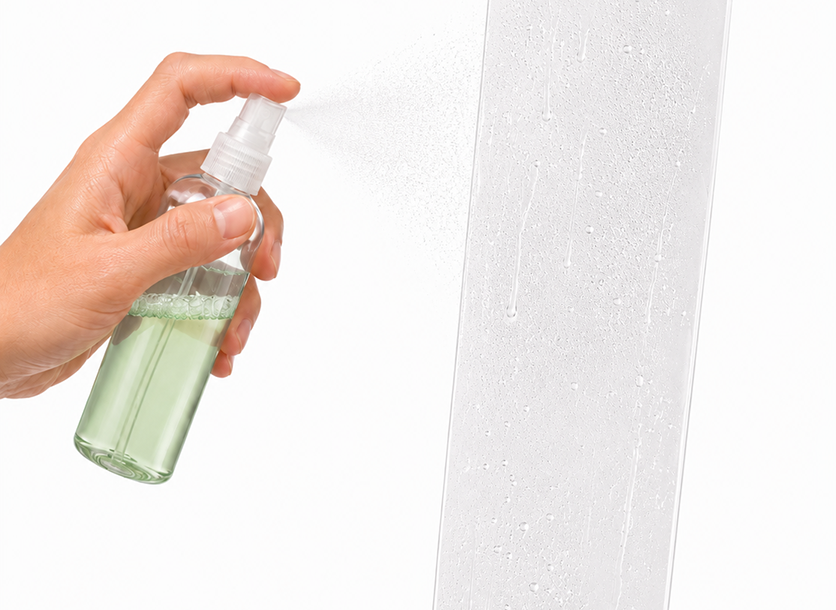
Carefully peel the protection film off the backing paper and immediately spray the adhesive side generously with the fluid.
Step 7
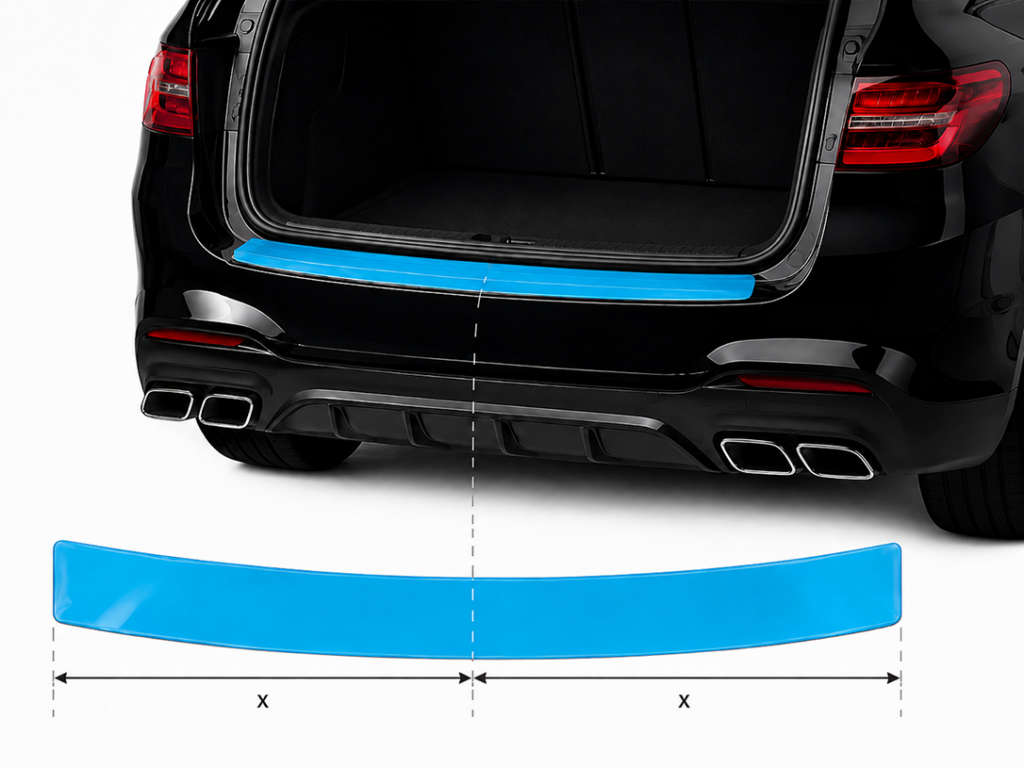
Gently fold the non-adhesive sides of the film together in the middle to find its exact centre. This lets you position it perfectly and centrally on the wet loading edge. Then slide the film up to the next inner edge.
Step 8
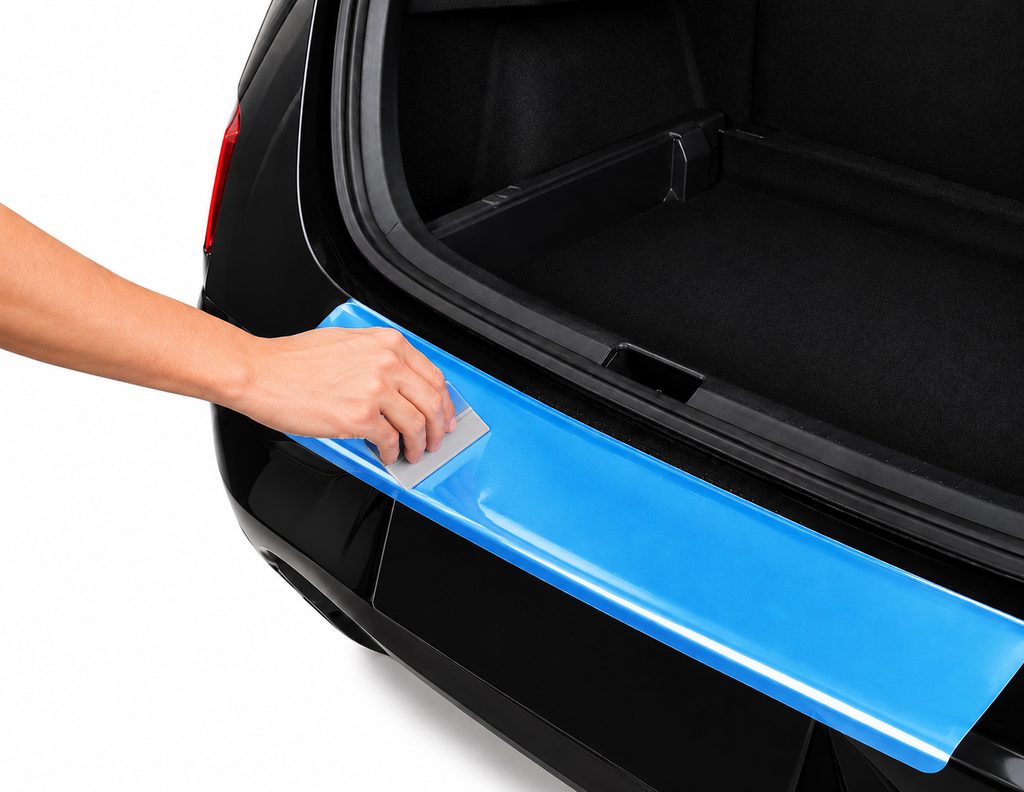
Press the film down firmly in the middle and use the squeegee to push the fluid out from the centre towards the edges. Work with even, overlapping strokes.
Pro tip: Lightly wet the top of the film with application fluid as well. This lets the squeegee glide much better and ensures it leaves no scratches. Once the top surface adheres securely, carefully wrap the film around the main edge. At the edges in particular, make sure you squeeze the water out completely straight away. Trapped water cannot be squeezed out later.
Pro tip: If the film resists when you fold it over or does not adhere cleanly, use a hairdryer. The gentle heat makes the material more elastic and flexible straight away, so it adapts more easily to the surface. The heat also speeds up the evaporation of the moisture.
Step 9
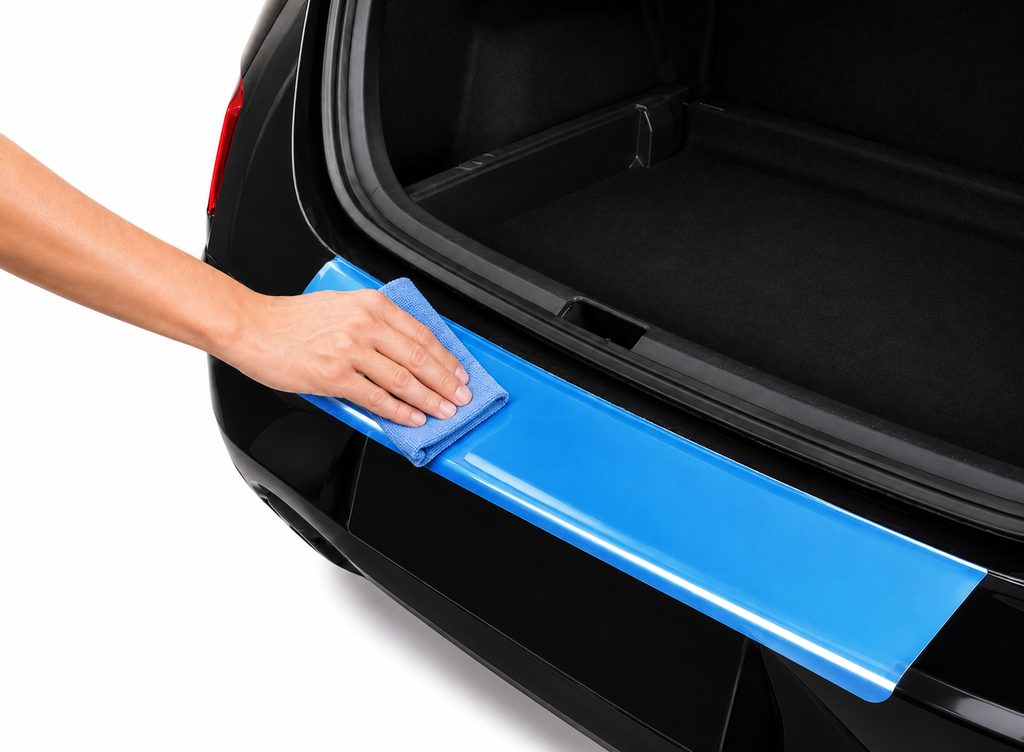
Now take your clean microfibre cloth and carefully and thoroughly wipe up the squeezed-out moisture on the film and around the loading edge.
Step 10
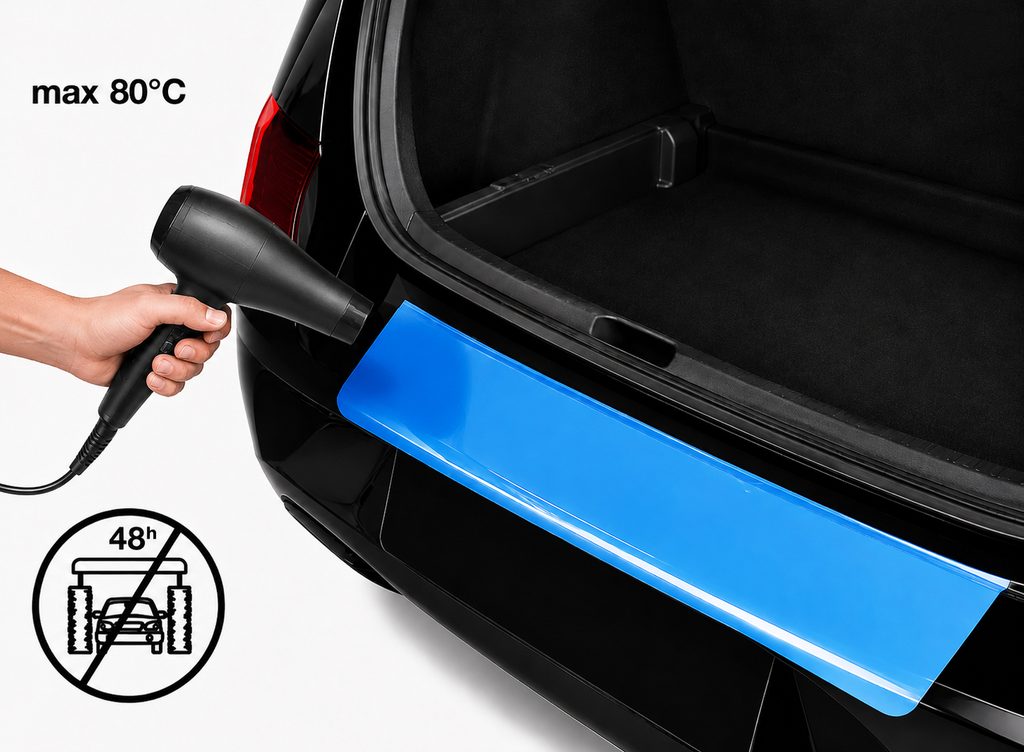
Optional: Finally, gently warm the covered edge once more with a hairdryer (max. 80 °C) to drive out every last bit of remaining moisture from under the film.
Important: Do not wash your car for at least 48 hours, neither in a car wash nor by hand, so that the adhesive can build up its full bond. Any slight cloudiness in the adhesive will disappear on its own after about 3 days.
Applying the door sill protection
In this guide we show you step by step how to apply your uProtect door sill protection film cleanly and with a precise fit.
What’s included
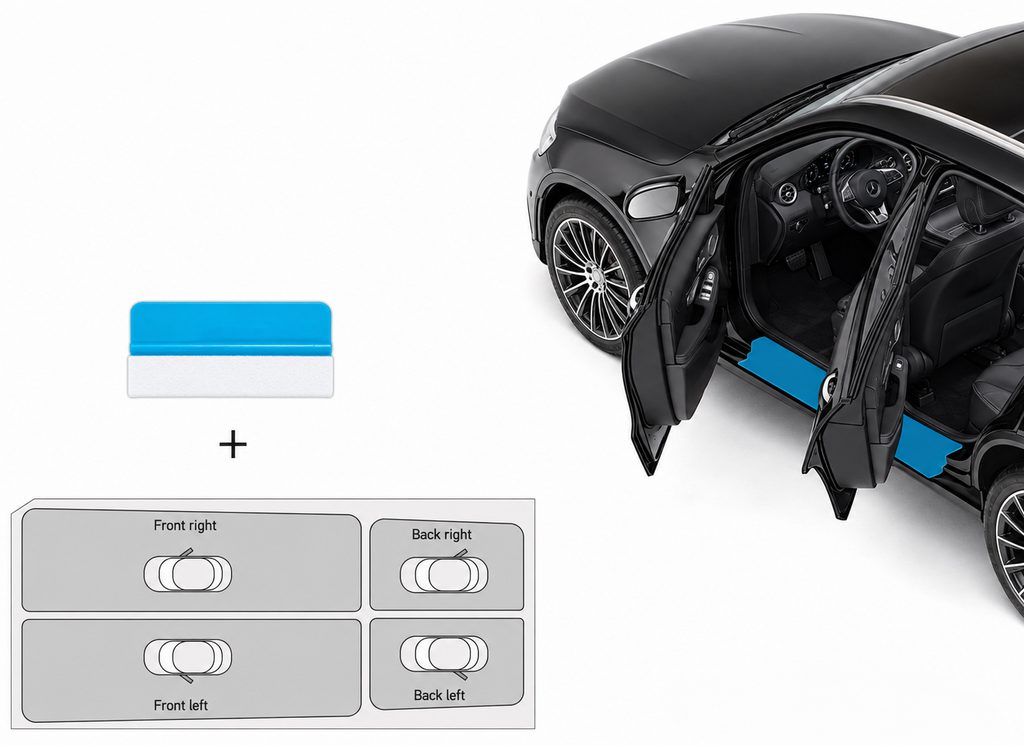
- Door sill protection film
- Squeegee
If your set consists of two pieces, you can line them up precisely using the notches and so work out the exact position on the car. Important: the cut-off corner of the backing paper always marks the front right side.
You will need
- Cleaning liquid (e.g. glass cleaner)
- Water
- Washing-up liquid
- Empty spray bottle
- Cleaning cloth (e.g. microfibre)
- Outdoor temperature of at least 18 °C for the best result
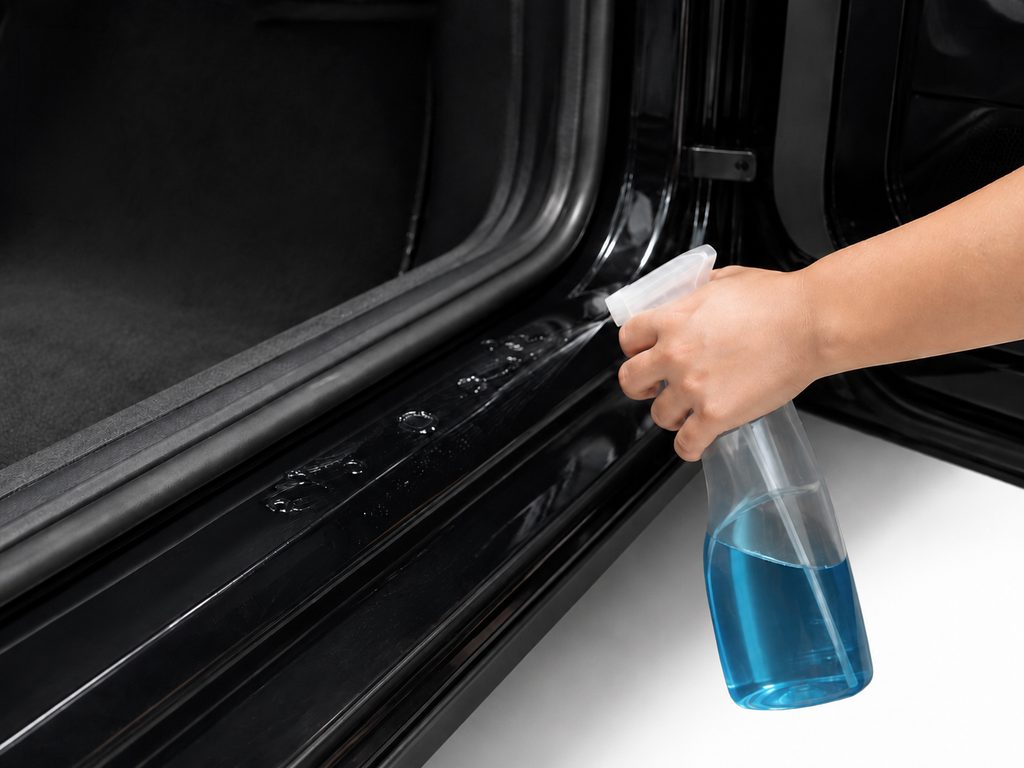
Step 1
Clean the door sill thoroughly with your cleaning liquid. Remove every trace of dirt and dust, as these particles could later be visible under the film. While the paint is still wet, check it by carefully running the palm of your hand over it. This lets you feel whether any fine particles are still stuck to the surface so you can remove them before applying the film.
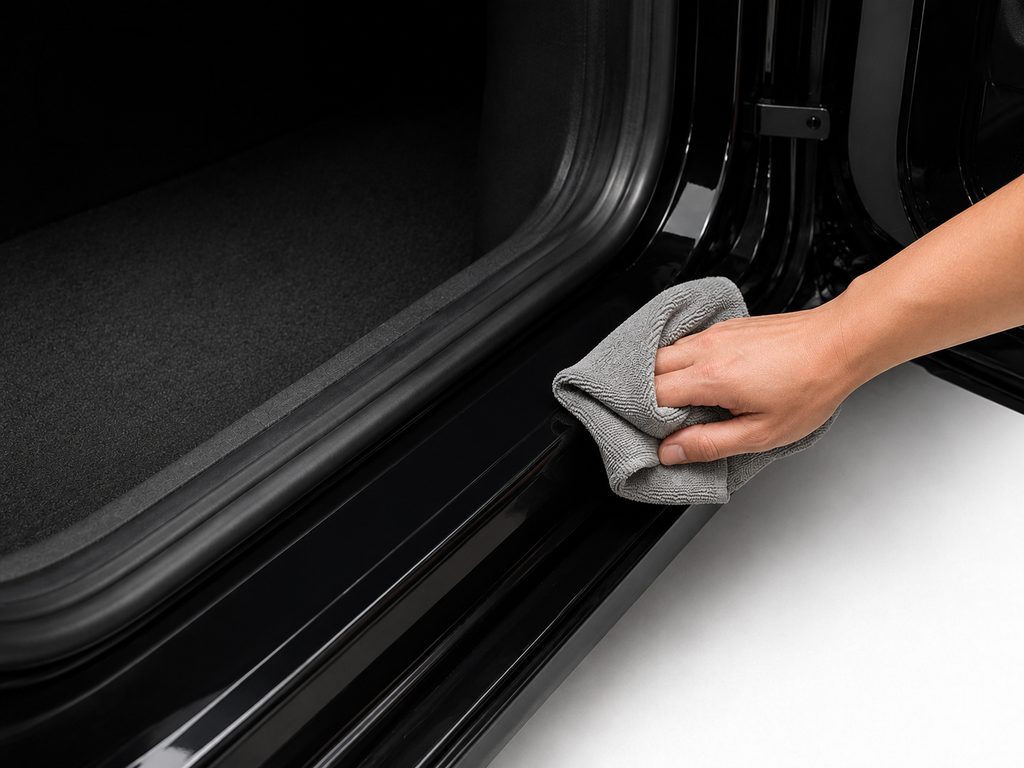
Step 2
Then dry the door sill thoroughly with a clean microfibre cloth.
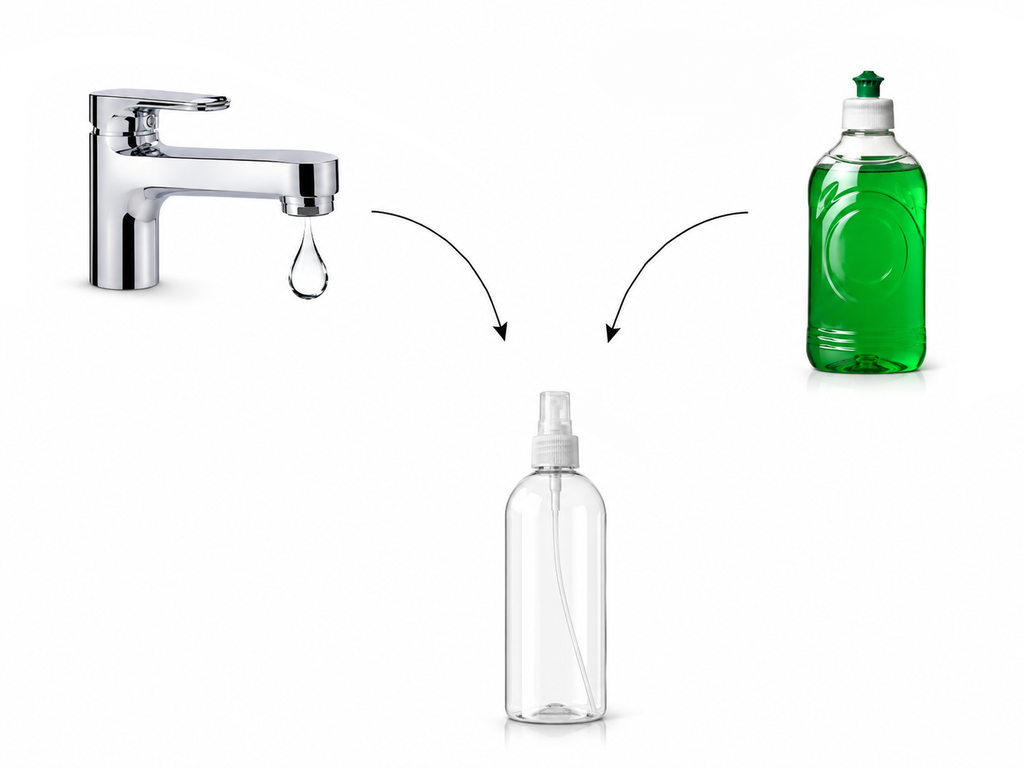
Step 3
Prepare your application fluid. Mix 1 litre of water with one or two drops of washing-up liquid in your spray bottle.
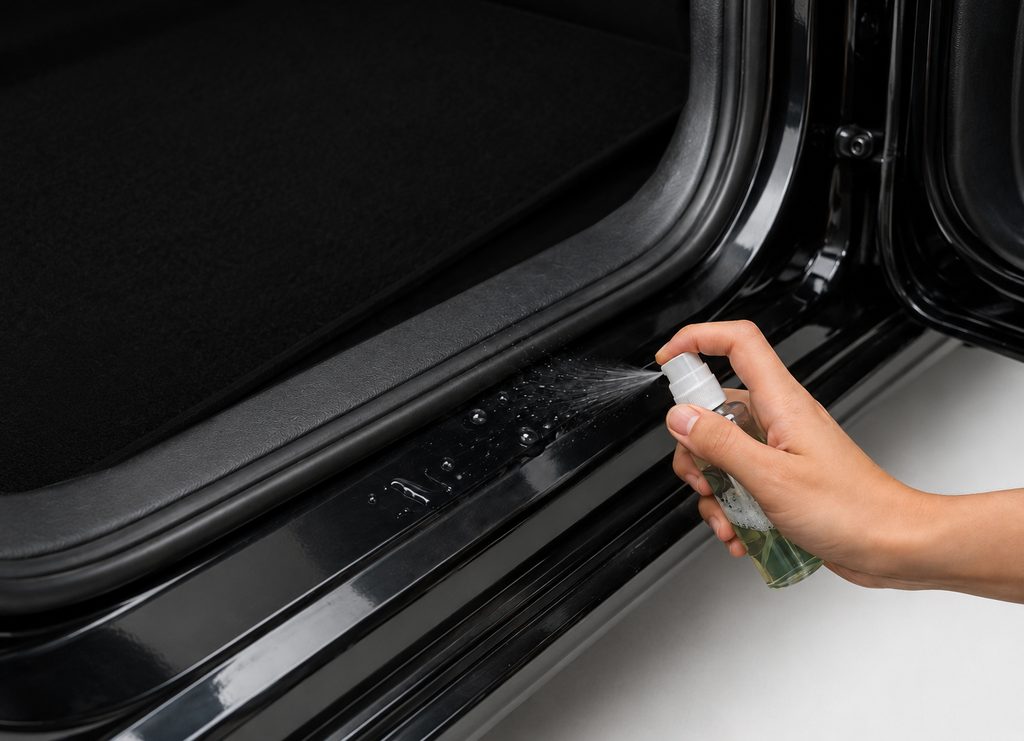
Step 4
Spray the clean door sill generously with your application fluid.
Step 5
Spray your hands well. This prevents fingerprints from being left on the adhesive side of the film when you peel it off.
Step 6
Carefully peel the protection film off the backing paper and immediately spray the adhesive side generously with the fluid.
Step 7
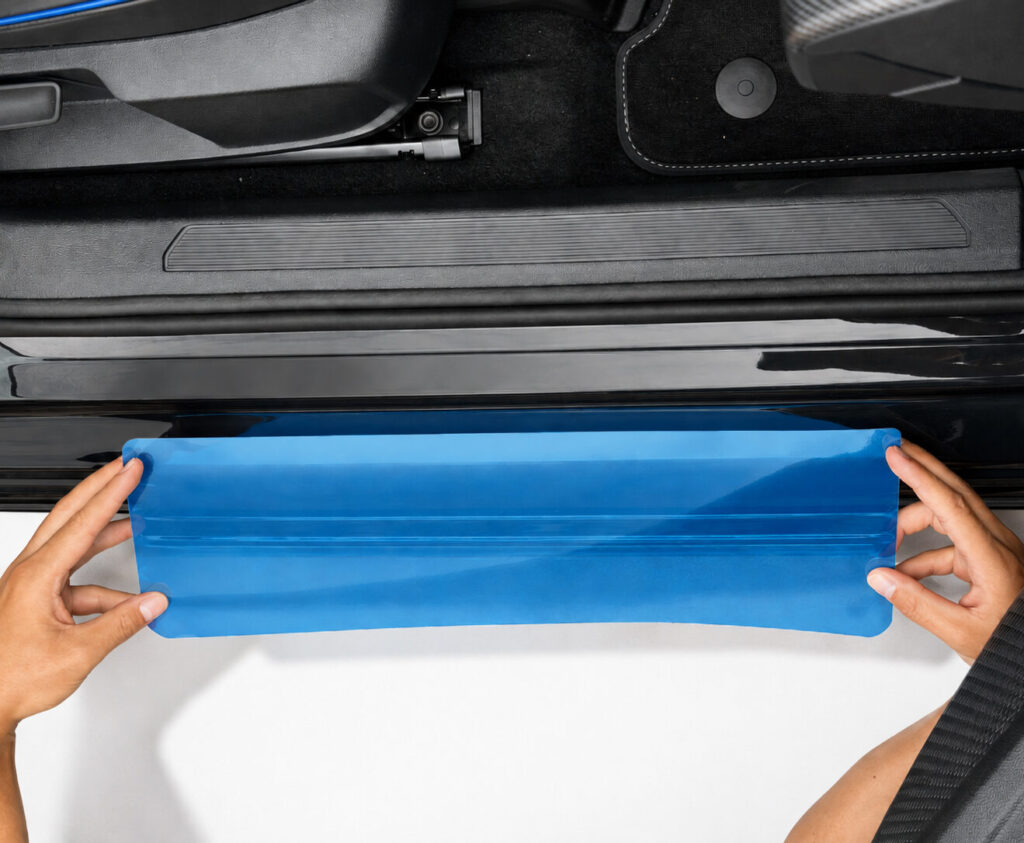
Position the film on the first step of the door sill and align it carefully. Make sure you do not place the film too high. It must not reach the door seal.
For films with rounded corners in the middle section, align the curves with the edge of the first step.
Step 8
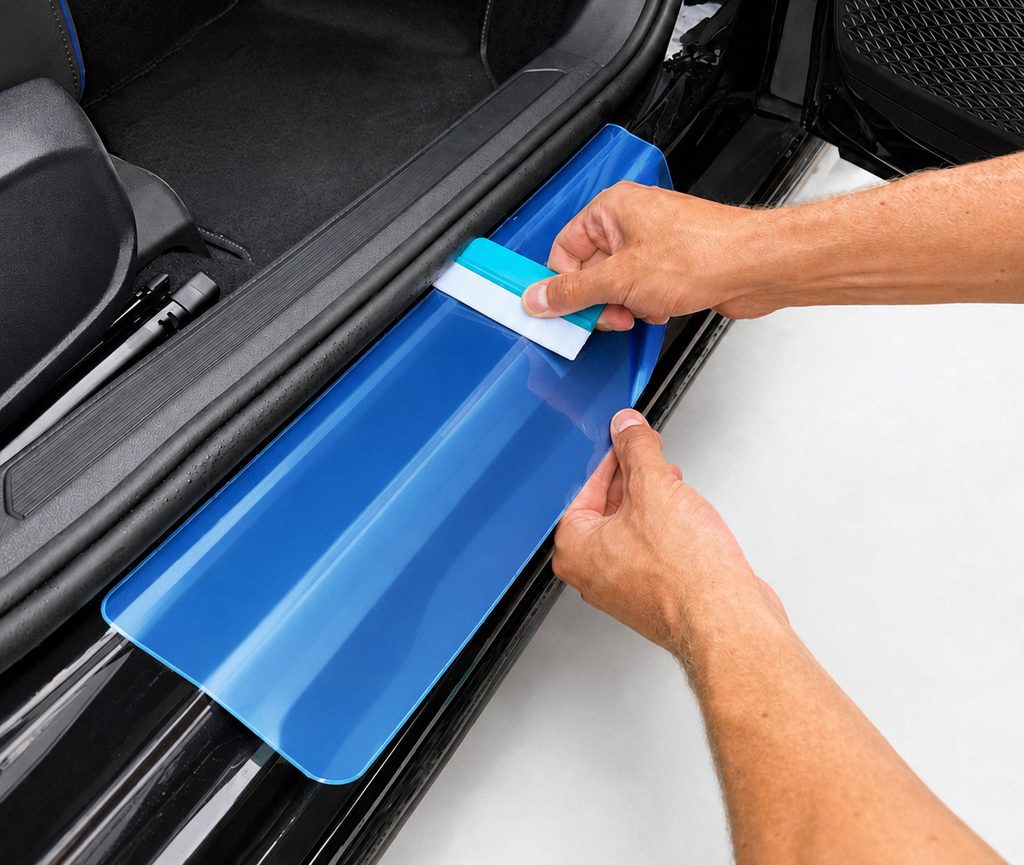
Press the film down firmly in the middle and use the squeegee to push the fluid out from the centre towards the edges. Work with even, overlapping strokes.
Pro tip: Lightly wet the top of the film with application fluid as well. This lets the squeegee glide much better and ensures it leaves no scratches.
Step 9
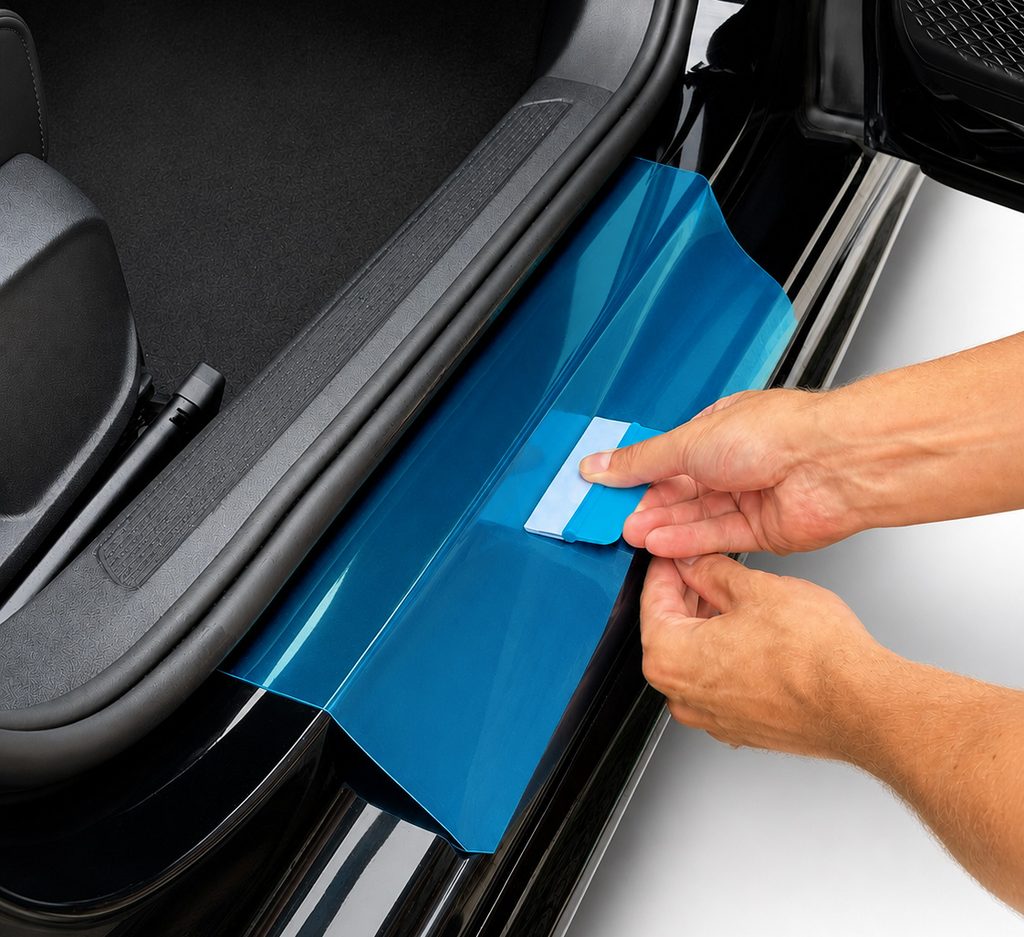
Once the film adheres securely to the top surface, carefully fold it over the edge and work it on piece by piece with the squeegee.
Work especially carefully at the edge and squeeze the water out completely straight away. Any water left trapped at this point is difficult or impossible to remove later.
Pro tip: If the film resists when you fold it over or does not adhere cleanly, use a hairdryer. The gentle heat makes the material more elastic and flexible straight away, so it adapts more easily to the surface. The heat also speeds up the evaporation of the moisture.
Step 10
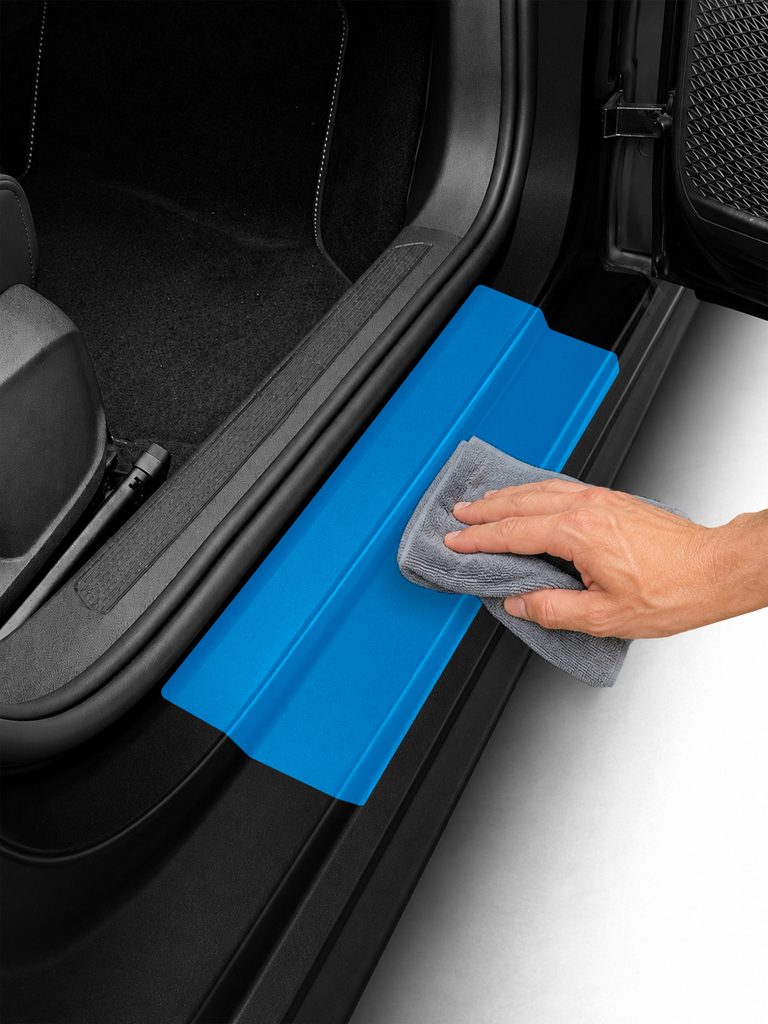
Then wipe the covered area completely dry with a clean, soft microfibre cloth. Carefully remove all water residue at the edges and around the film.
Optional: Finally, gently warm the covered edge once more with a hairdryer (max. 80 °C) to drive out every last bit of remaining moisture from under the film.
Important: Do not wash your car for at least 48 hours, neither in a car wash nor by hand, so that the adhesive can cure completely. Any slight cloudiness in the adhesive will disappear on its own after about 3 days.
Applying protection film to your bicycle or e-bike
In this guide we show you step by step how to apply your uProtect protection film cleanly to your bicycle or e-bike.
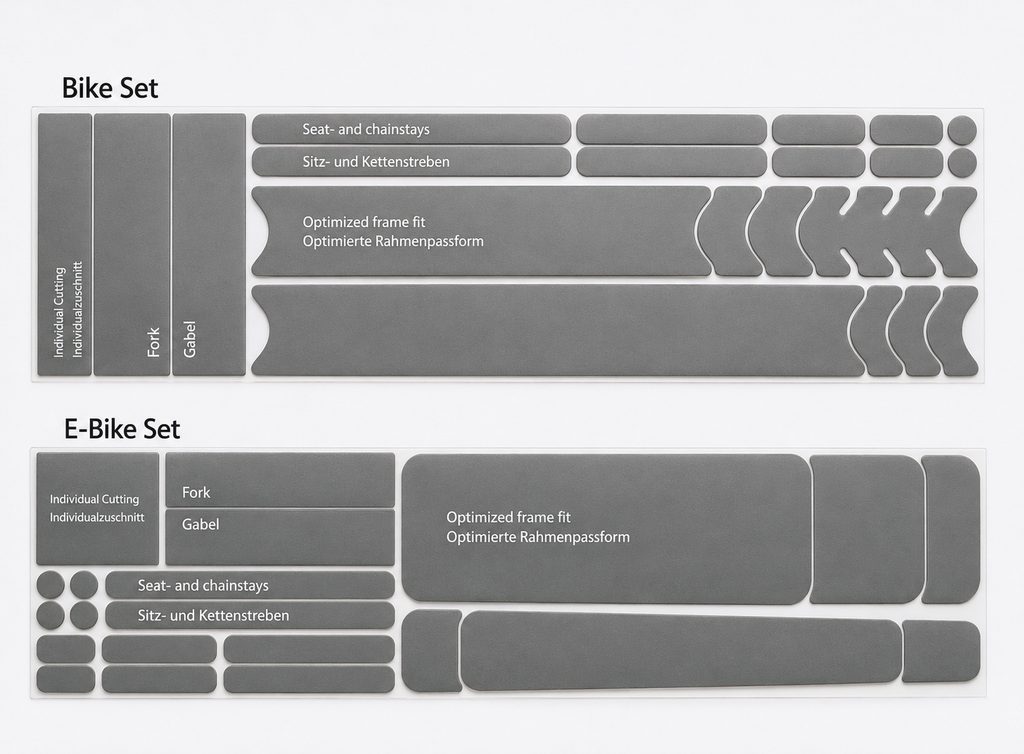
What’s included
- Pre-cut paint protection film
- Squeegee
You will need
- Cleaning liquid (e.g. glass cleaner)
- Water
- Washing-up liquid
- Empty spray bottle
- Cleaning cloth (e.g. microfibre)
- Outdoor temperature of at least 18 °C for the best result
Step 1
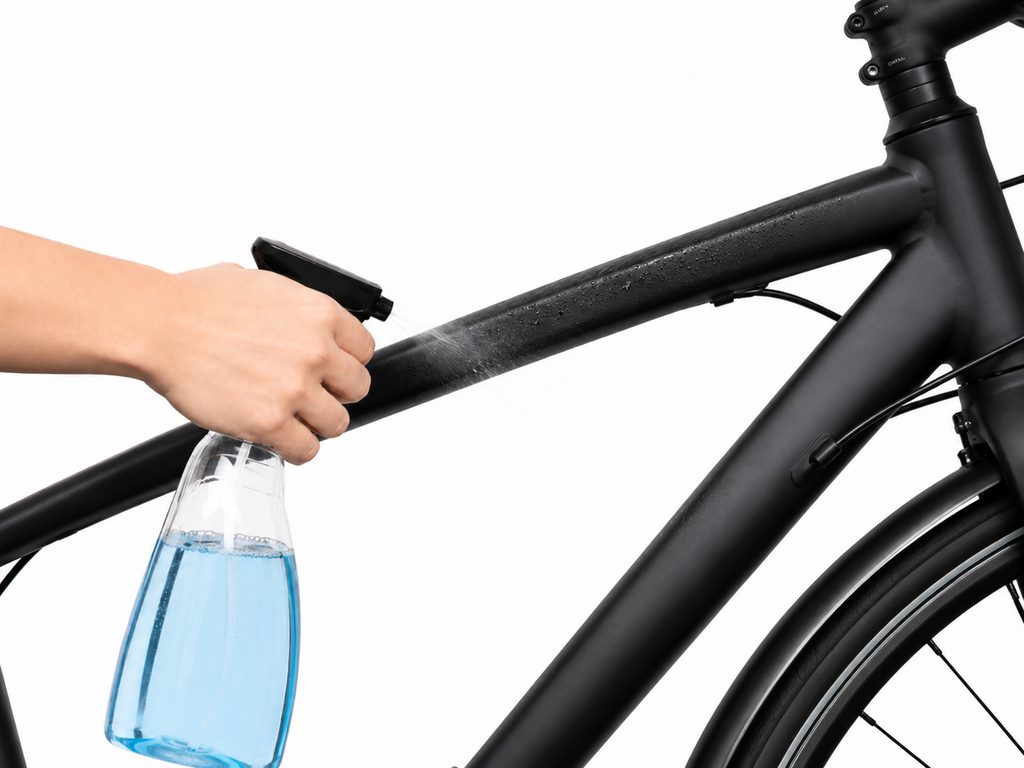
Clean the area to be covered on your bicycle or e-bike thoroughly with the cleaning liquid. Remove every trace of dirt and dust, as these particles may later be visible under the film. Then carefully check the still-wet surface with the palm of your hand. This lets you feel whether any fine particles are still stuck to it so you can remove them before applying the film.
Step 2
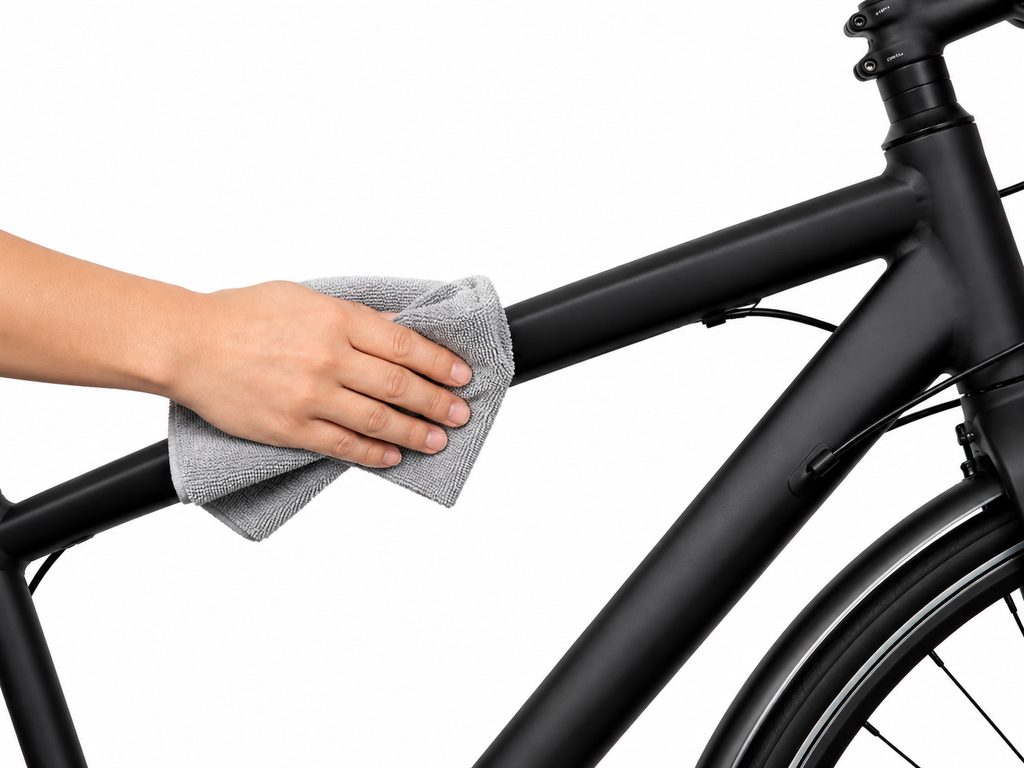
Then dry the area to be covered thoroughly with a clean microfibre cloth.
Step 3
Prepare your application fluid. Mix 1 litre of water with one or two drops of washing-up liquid in your spray bottle.
Step 4
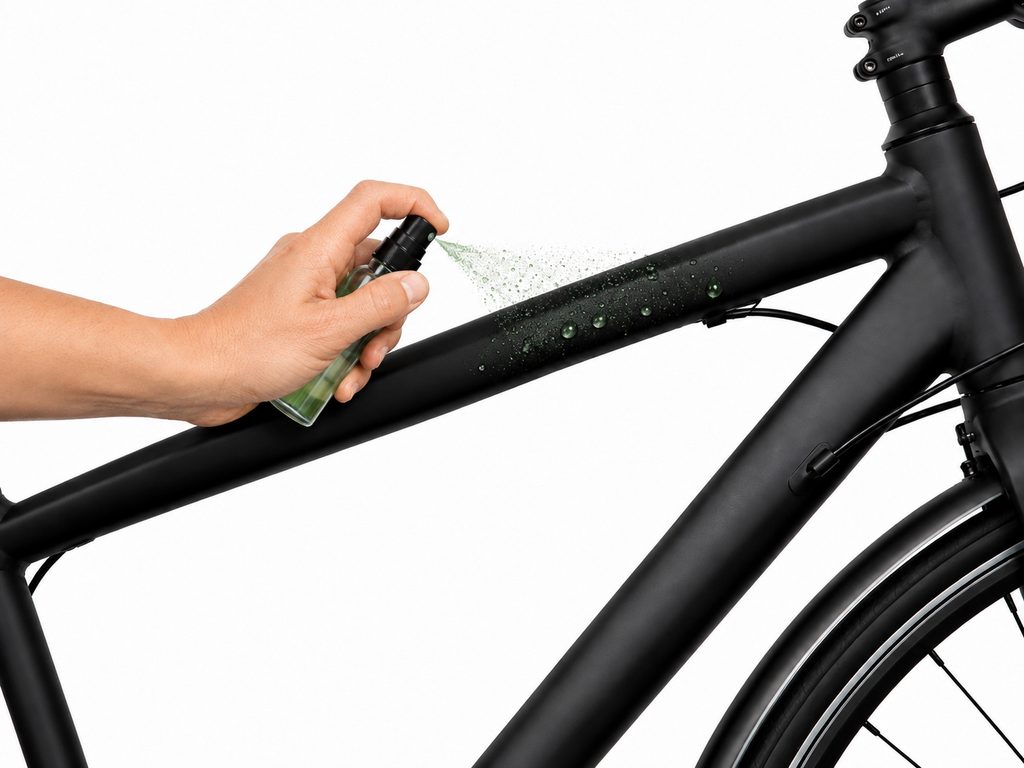
Spray the clean area to be covered generously with the application fluid.
Step 5
Spray your hands well. This prevents fingerprints from being left on the adhesive side of the film when you peel it off.
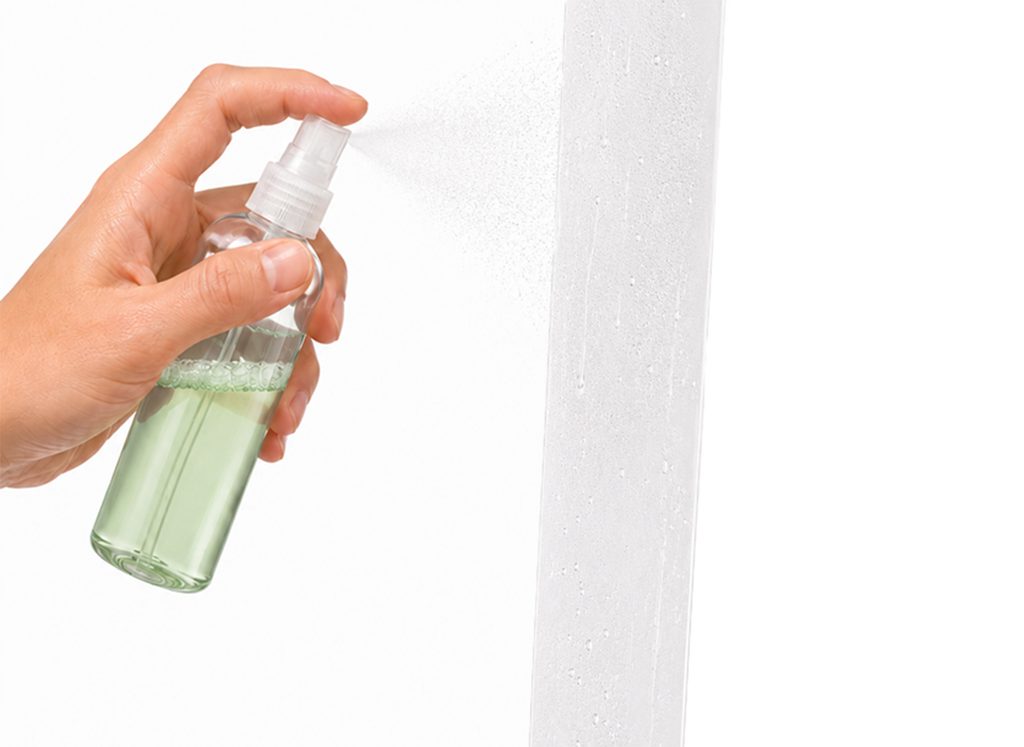
Step 6
Carefully peel the protection film off the backing paper and immediately spray the adhesive side generously with the fluid.
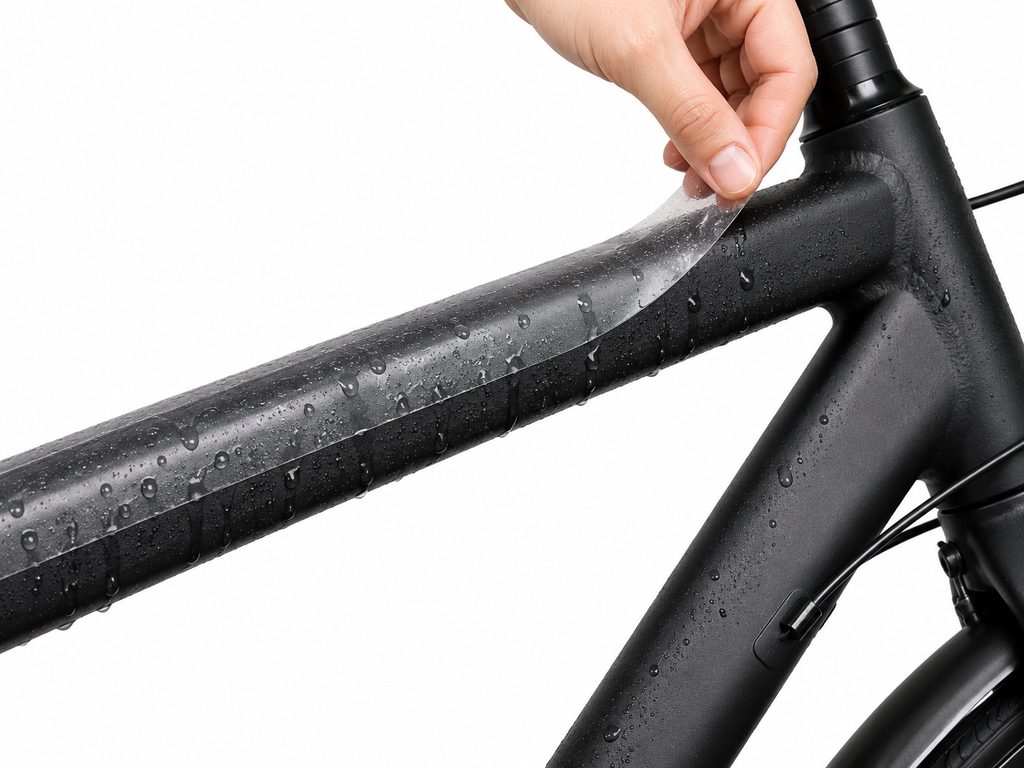
Step 7
Position the film on your bike. As long as the adhesive is wet, the film is easy to slide around. Once you have found the right position, push the fluid out from the centre towards the edges. Work with even, overlapping strokes. For the large pieces of film, we recommend using the squeegee supplied.
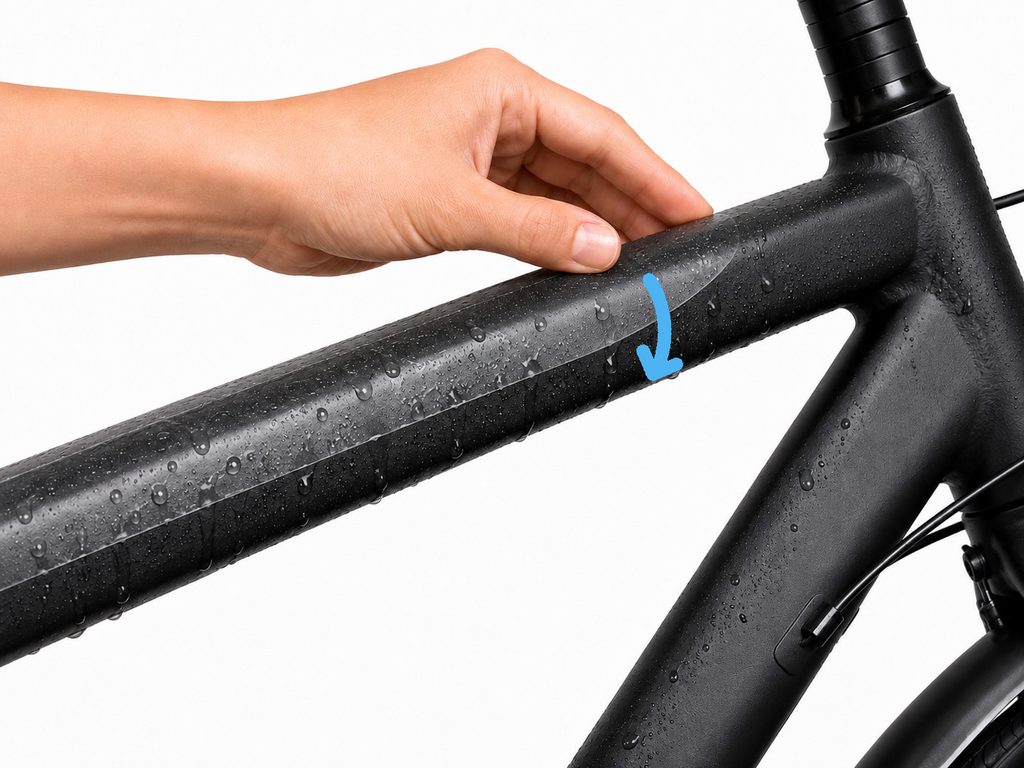
Step 8
For large areas such as the top tube and down tube, start with the largest contact surface. Once this area adheres securely, carefully wrap the film around the edge and squeeze the water out there as well.
Pro tip: If the film resists when you fold it over or does not adhere cleanly, use a hairdryer. The gentle heat makes the material more elastic and flexible straight away, so it adapts perfectly to the surface. The heat also speeds up the evaporation of the moisture and activates the adhesive.
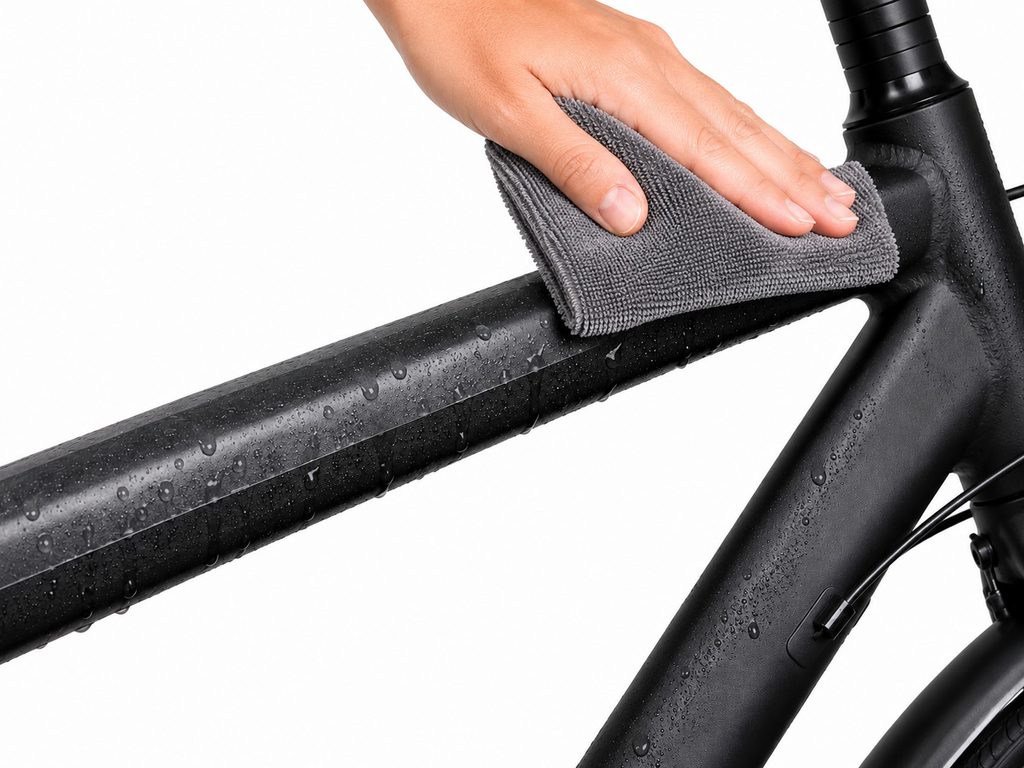
Step 9
Now take your clean microfibre cloth and carefully wipe up the squeezed-out moisture on the film and around the covered area.
Optional: Finally, gently warm the covered edge once more with a hairdryer (max. 80 °C) to drive out every last bit of remaining moisture from under the film.
Important: Do not wash your bike for at least 48 hours so that the adhesive can cure completely. Any slight cloudiness in the adhesive will disappear on its own after about 3 days.
Applying protection film for a rear bike carrier
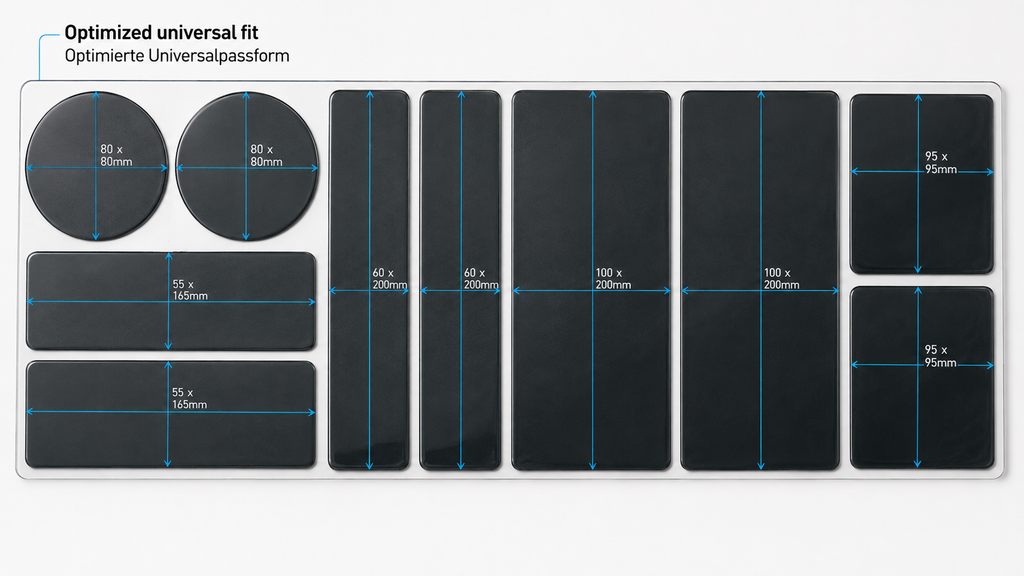
The uProtect universal kit is suitable for most common rear bike carriers. If a pre-cut pad does not fit, you can trim it with a cutter or scissors. Measure the area to be covered on the vehicle, transfer the measurements and cut the film to the right size.
What’s included
- Protection films in various shapes and sizes
- Squeegee
You will need
- Cleaning liquid (e.g. glass cleaner)
- Water
- Washing-up liquid
- Empty spray bottle
- Cleaning cloth (e.g. microfibre)
- A clean car
- Outdoor temperature of at least 18 °C for the best result
Step 1
The best way to find the carrier’s contact points on the paint is to mount the carrier. Mark the contact points, e.g. with a pencil or low-tack masking tape. Make sure the markings are not covered by the film and are removed afterwards.
Step 2
The surface on the vehicle must be free of dust and grease. Clean the area thoroughly with a microfibre cloth and glass cleaner.
Step 3
Fill a spray bottle with at least one litre of water and add a few drops of washing-up liquid. The more washing-up liquid you use, the longer the film takes to reach its final bond.
Step 4
To avoid fingerprints on the film, spray your fingers and carefully peel the film off the backing paper. Spray the adhesive side and then the area where you want to apply the film.
Step 5
Position the protection film in the right place. Press the film on evenly and lightly. Use the squeegee to push the fluid out from the inside towards the outside. When folding it around the edge, it is best to work with your fingers. If the film does not adhere straight away, you can warm it slightly with a heat gun or an ordinary hairdryer.
Step 6
The remaining moisture will have evaporated completely after about 72 hours, and the final bond is then reached. Small air bubbles also disappear during this time. If the bubbles do not disappear, you can carefully prick them with a needle to let the air escape.
Need more film?
You’ll find all uProtect protection films in our Amazon Store.